
In this tutorial we will describe how to create a simple action to change the width of a photo to 1000 pixels, and then save it as a high quality jpg to our hard disk.
Suppose you have 20 images that you would like to resize all of them to equal width of 1000 px, and then save them as jpgs on your hard disk to upload to the internet. Instead of repeating the same procedure 20 times, once for each image, you can create an action and then just run the action on the 20 images, and the whole procedure would take a few seconds.
An action is no more than a recording of what you want to do, and then it runs automatically whenever you need it. It is automating the work.
Here are the steps of how to create an adobe Photoshop action to set width of an image to 1000 px.
Before you start the recording the action, you should do 2 things:
- open adobe Photoshop
- open all the images that you want to change the width for.
Now you are ready to create the action.
Step 1
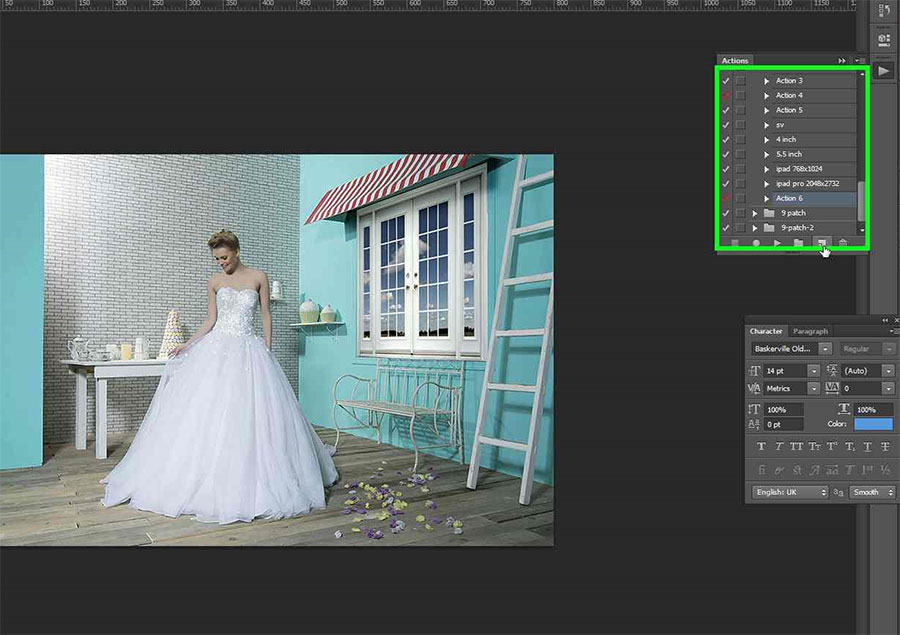
Click on the Action symbol on the right panel ![]()
or click from main top menu: Window > Actions
At the bottom of the Actions window there is a menu: ![]()
Click the ‘create new action’: ![]()
Step 2
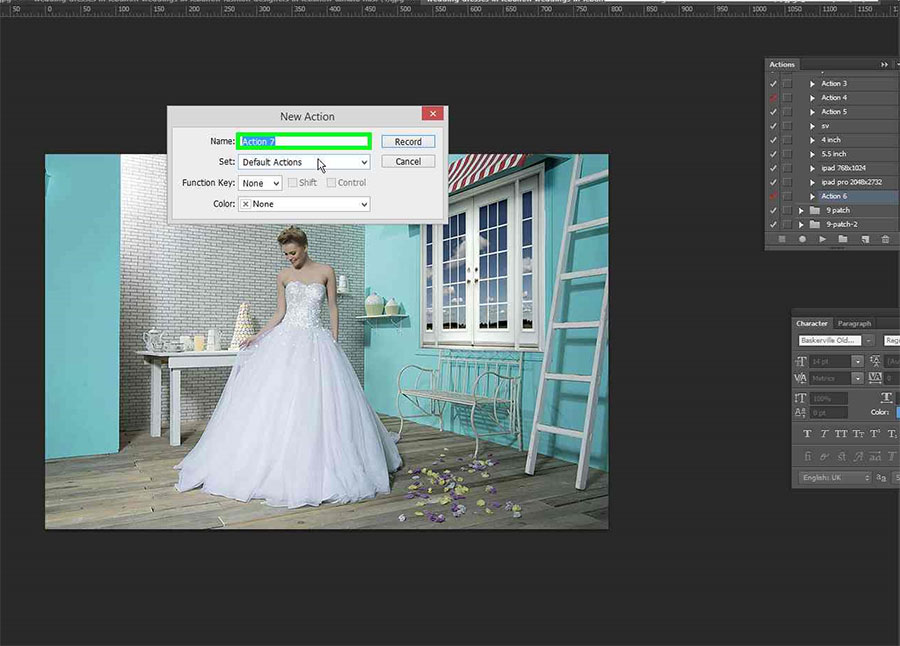
Give your action a name to identify the action so that you can reuse it in the future. In our example we named the action: width 1000
Step 3
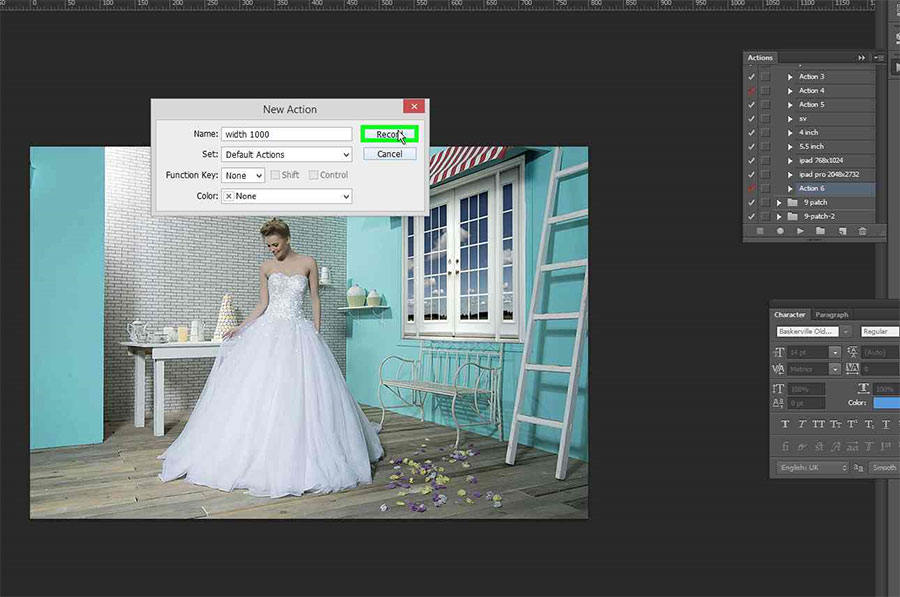
Click the ‘Record’ Button
Step 4
Now you are ready to start recording the action you want to automate. You should see the action record button turn red ![]()
In this example we want to do 2 things:
a- set the width of our images to 1000 px
b- to save the image as a high quality jpg
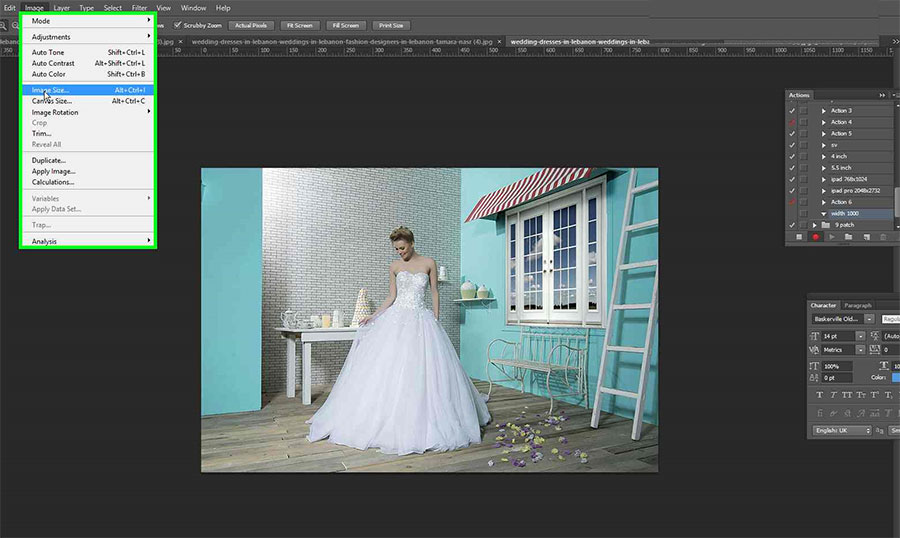
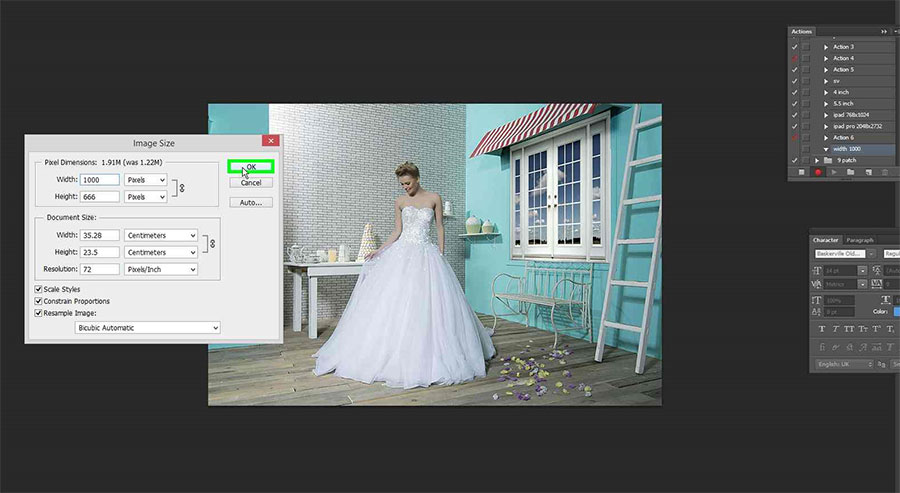
Click Menu Image > Image Size
Step 5
Set width to 1000 Pixel, make sure the constrain proportions is selected.

Step 6
Click OK
Step 7
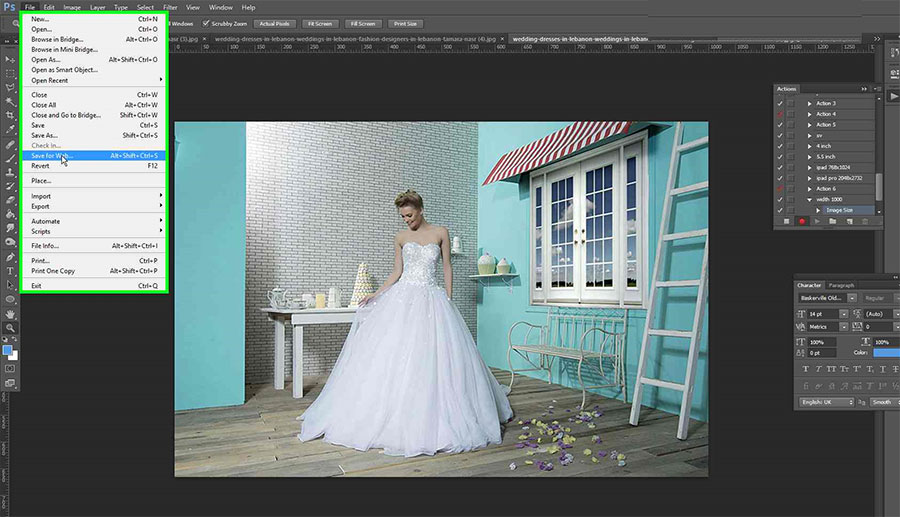
now to save:
File > Save for web ..
Step 8
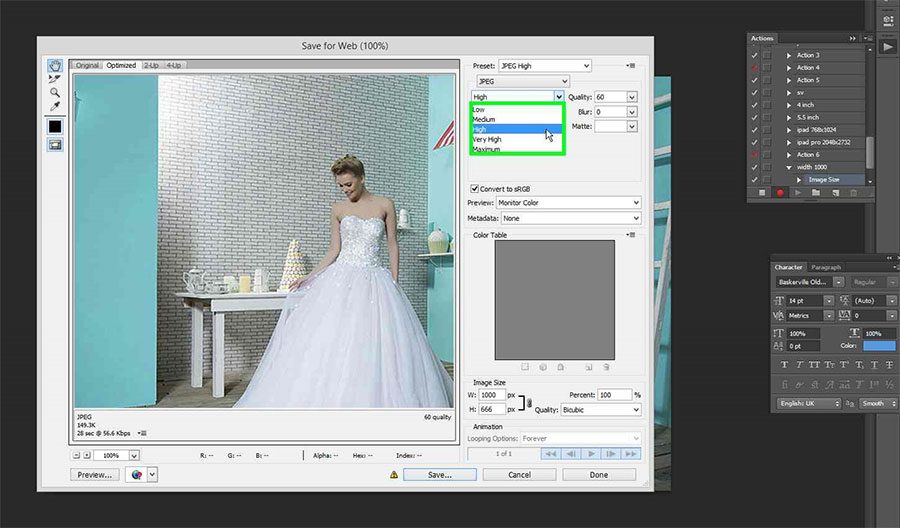
Choose the quality you need
Step 9
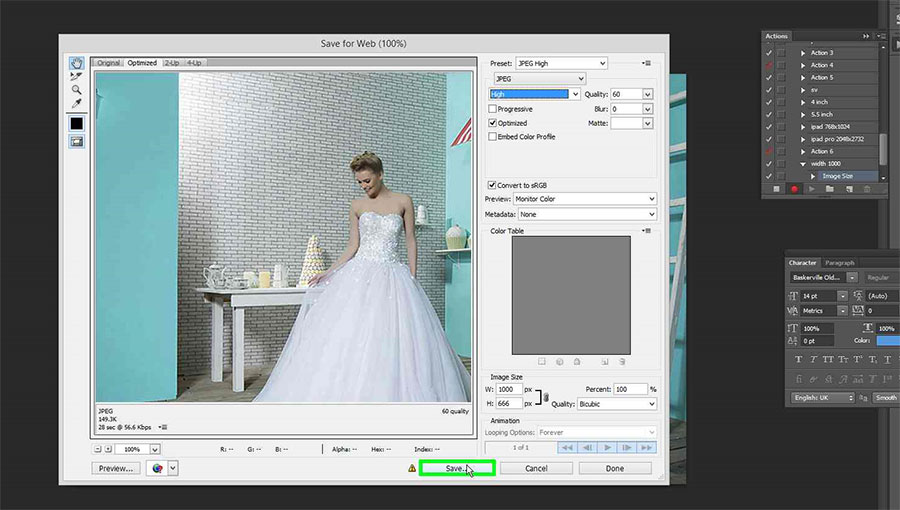
Click Save
Step 10
Choose the folder where you want to save the images, and click save

Step 11
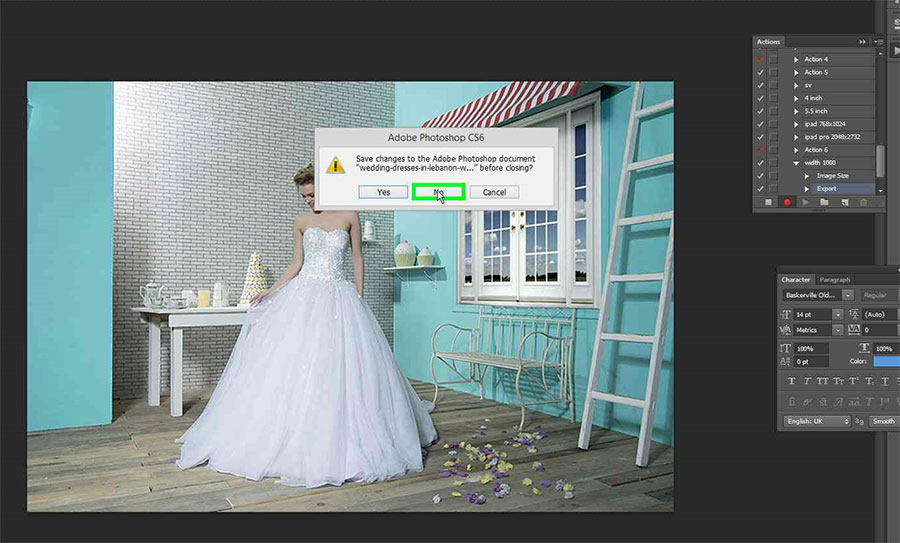
Now you can close the image without overwriting it.
File > Close

Step 12
Click No if you want to keep the original images
OR click Yes if you want to overwrite the image
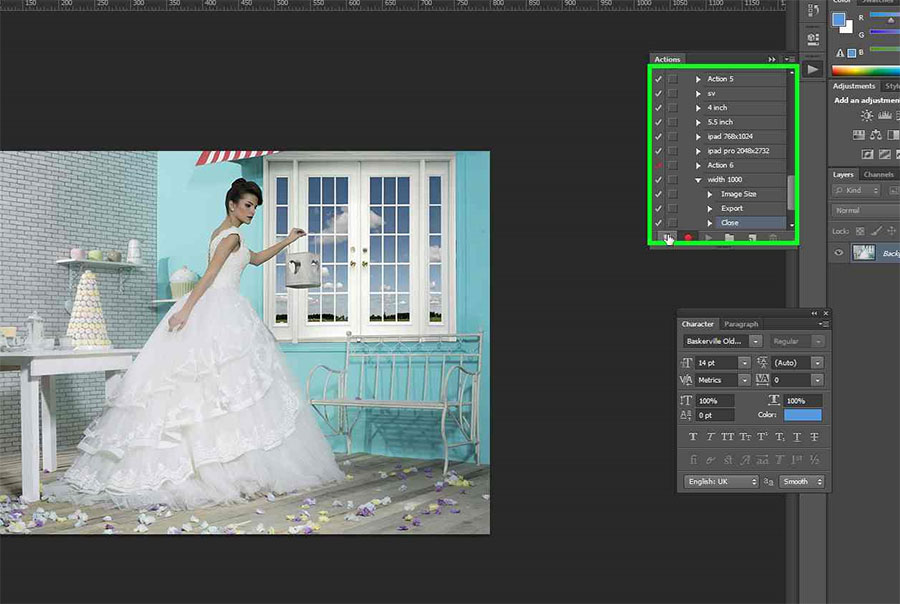
Step 13
Now the action is finished, and you need to stop the recording.
Click the STOP Recording icon ![]()
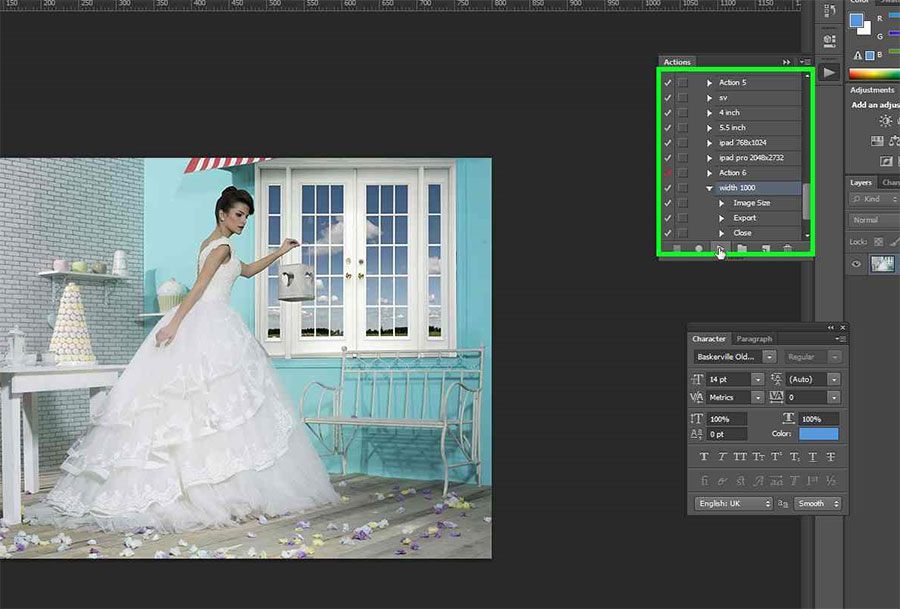
Step 14
Now to run the action on all the other images, simply click on the action name, in our example: width 1000

Step 15
then click on the ‘Run Action’ icon ![]()
and watch how adobe automatically resizes your image, saves it, and closes your file.
Step 16
now click on the ‘Run Action’ icon again ![]()
and watch your next image resize, save and close.
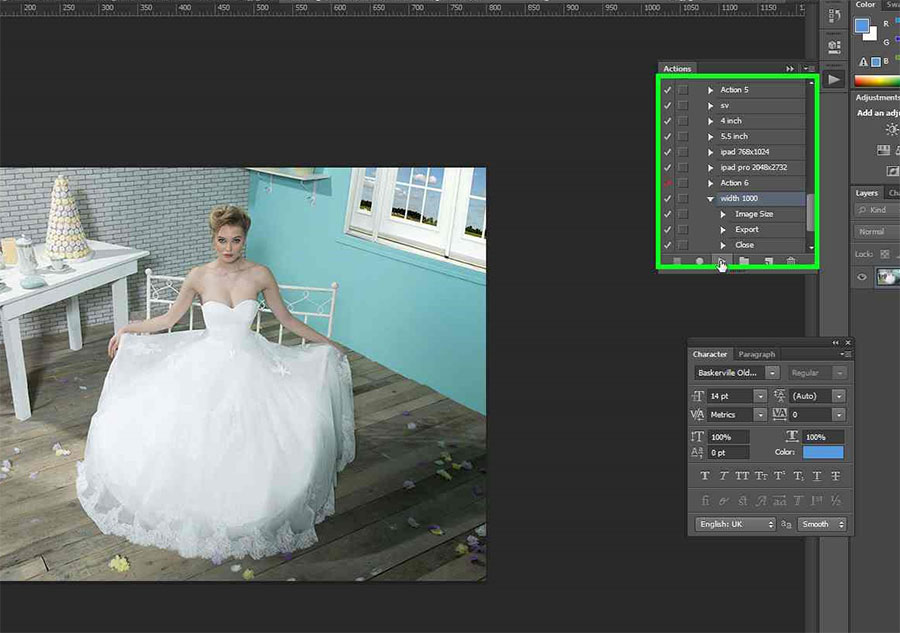
Continue to click on the ‘Run Action’ icon ![]() on every image you have until all your images are done.
on every image you have until all your images are done.